

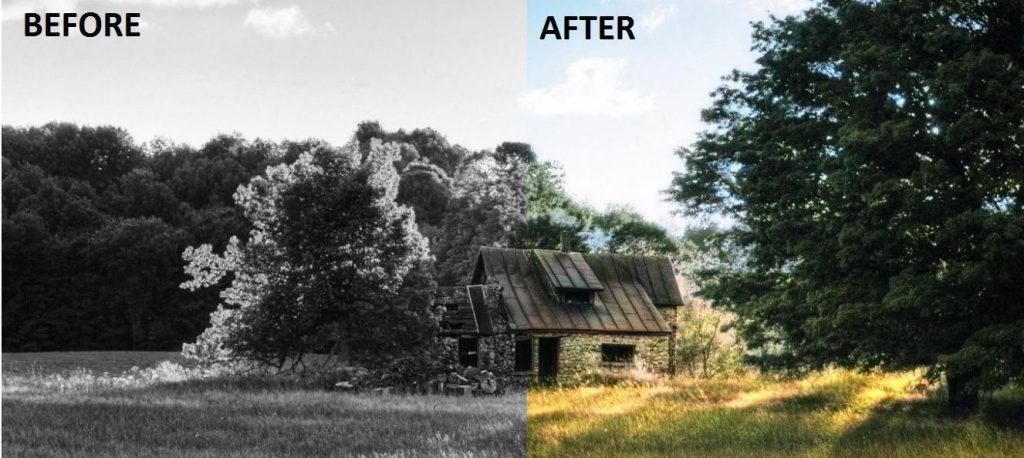
If you’re like me, chances are you have a trove of old black and white photos tucked away somewhere. And while they’re lovely to look at, there’s something about seeing those long-gone faces in full color that brings them to life. Now, thanks to some handy Photoshop tips, you can colorize your old black and white photos easily at home. In this blog post, we’ll show you how to bring new life to your old photos with a little color. For more info about colorize a picture visit here.
Step One: Choose Your Photo
When it comes to finding the perfect photo to colorize, there are a few things you’ll want to keep in mind. First, choose a photo that has good contrast between the subject and the background. This will make it easier to add color later on. Second, try to find a photo with simple lines and shapes. This will make it easier to stay within the lines when you’re coloring. Lastly, make sure the photo is high quality so that the final product looks great.
Now that you know what to look for in a photo, it’s time to start browsing through your old family albums or searching online for black and white photos. Once you’ve found a few potential candidates, print them out or save them to your computer so you can start working on them.
Step Two: Prep Your Photo
If you’re working with a physical photo, start by scanning it at a high resolution. This will help ensure that you don’t lose any detail when you start editing.
Once your photo is digital, open it in your editing software of choice. If you’re not sure where to start, try a free program like GIMP or Photoshop Express.
Now it’s time to prep your photo for colorization. Start by increasing the contrast to make the blacks darker and the whites brighter. You can do this with the levels or curves tool in your editing software.
Next, adjust the brightness and saturation. Again, you want to make the shadows darker and the highlights brighter. But be careful not to go too overboard – you don’t want your photo to look unnatural.
Finally, crop and rotate your photo as needed. Then save your changes and you’re ready to move on to step three!
Step Three: Edit Your Photo
Editing your photo is the key to creating a successful colorized version of an old black and white photo. There are a few things to keep in mind when editing your photo:
– First, make sure the photo is high resolution. The higher the resolution, the better the final product will be.
– Second, pay attention to the contrast. You want to increase the contrast so that the colors really pop.
– Third, make sure to use a software that allows you to control the colors. This way you can ensure that the final product looks natural and not overdone.
Conclusion
Thanks for reading! We hope you found this guide on how to colorize old black and white photos helpful. If you have any tips or tricks of your own, please share them in the comments below. And if you’re feeling inspired to give photo coloring a try, be sure to check out our collection of free Photoshop actions for more resources.
